Showing posts with label pickling canning and curing. Show all posts

Thursday, September 16, 2010

fermenting vegetables

I'm a germophobe of near Seinfeld proportions. Back in culinary school when I took my safety and sanitation class, my grade on that test certified me to teach the course. While I've made refrigerator jams and pickles for quite awhile, canning came much later for me. I always felt uncertain that I'd manage it without poisoning the lot of us. And yet, while studying up on canning and pickling to reassure myself, I came across a lot of websites and books about fermenting foods. Live fermentation is the process of canning without heat by chopping foods, then layering them with salt and spices, then mashing them to help them release their own juices. The sugars in the vegetables release juices containing lactic acid which help to preserve the food. A live yogurt culture can be added for additional lactic acid. Though this is really a scarier prospect than heat canning, I gave it a whirl. And man, am I glad I did. This was my first (okay, third... I threw out the first two batches. paranoia.) experiment with live fermentation.

Fermented Sauerkraut Recipe:
 
Equipment: large container, canning funnel, potato masher, meat pounder or pestle, a weight of some sort (I used a jar filled with water), jar for canning (an old jar is fine for this) -sterilizing all equipment is a smart measure)


Ingredients: 
  • 2 cups well washed cabbage, reserve three outside leaves and chop remainder
  • 2-3 radishes, diced
  • pickling salt or kosher salt, lots
  • spices: I used mustard seed, fennel seed, black peppercorns, and coriander seed
  • 2 Tbsp. yogurt starter (not essential, but it does reassure me)
Directions:
  •  In large container, place a layer of shredded cabbage and radishes and some spices. Salt well. Repeat with all ingredients, in layers. Add your lactic acid source, if using. Place reserved leaves on top of mixture and use potato masher, meat pounder or pestle to pound your ingredients. Continue to do this until liquid rises above your mash by at least 1/2 in. 
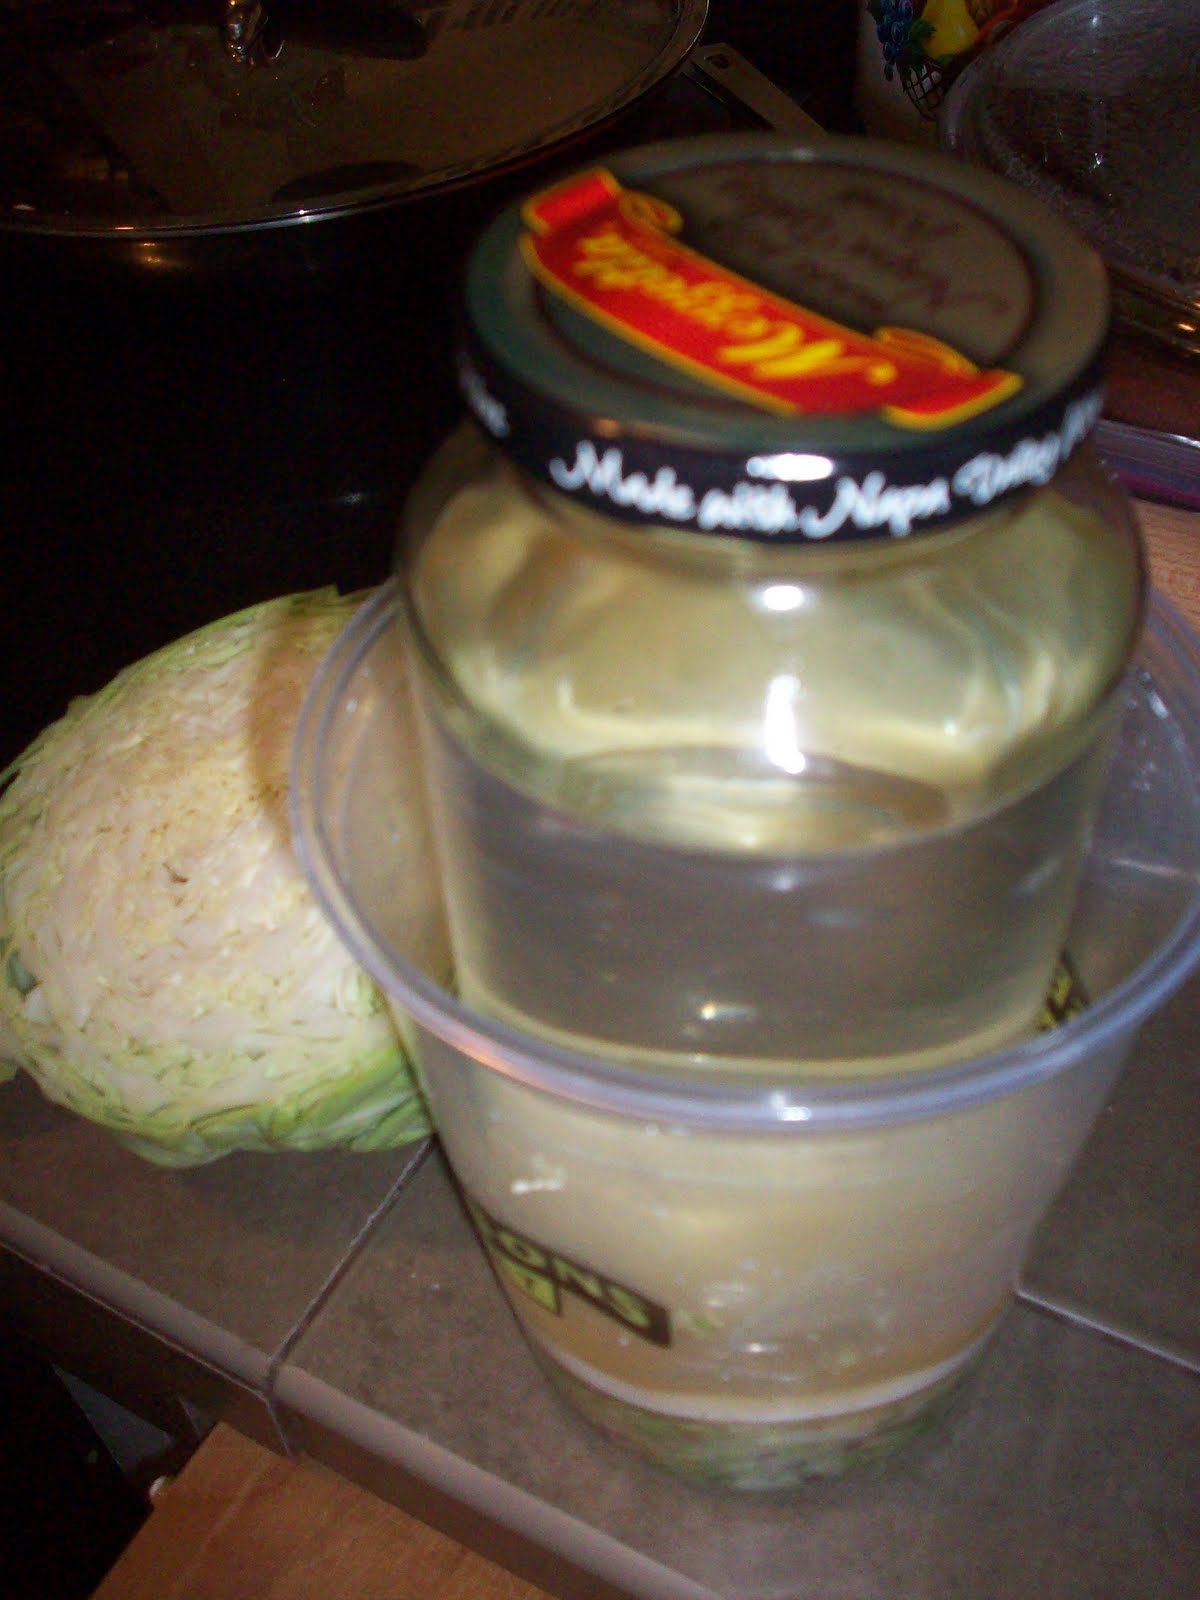
  • Lay weight on top. Some people use a filled bag, I used a large jar full of water.
  • Keep submerged and out in the open for 3-4 days, checking for "scum" on top. If this happens, it is still safe, so long as your ingredients are still submerged. Scrape it and continue on.
  • Transfer into sterilized jar where it will be well-packed and seal tight.
  • Fermenting in a temp. of 70-75 degrees takes 3-4 months, cooler temps will take a bit longer.  You can certainly have some prior to the 3 month mark, but it will gain a lot in flavor with time.
  • Can be kept out without refrigeration, when you indulge in some just be sure the bulk you leave behind is submerged in the liquid and keep the jar well-sealed.

                                  mashing the kraut

                                                             adding weight

XO, Debbie


Tuesday, September 14, 2010

Crock pot onion jam

I was inspired to try my onion jam in the crock pot after seeing the idea in a cookbook recently. While there
are a few steps so it isn't a crock pot recipe I can leave alone all day, I like that unlike doing this in a saucepan I can walk away and not worry about burning anything, plus it leaves me room on my stovetop for other things.

Crock Pot Onion Jam Recipe:

Equipment: crock pot, large canning pot and rack or large stock pot with pasta insert, canning jars (sterilized), jar lifter, canning funnel (sterilized)


Ingredients:
  • 2 pounds large chopped sweet onions, such as Walla Walla
  • one cup good balsamic vinegar
  • one cup brown sugar
  • 1 tbsp. sea salt
  • 1 Tbsp. butter
 Directions:


  • Set crockpot on high setting, put in onions, butter and salt and let cook down until carmelized.
  • Add balsamic and sugar, let cook down until reduced by half.
  • Reduce heat to low and continue to simmer an hour or two.
  • Check for gelling by running a spoon along the bottom of mixture. If it leaves a trail that stays a few moments, it's gelled.
  • Bring canning pot/stock pot of water to a boil and sterilize your jars.
  • Funnel ingredients into jars leaving 1/2 in. head room, wipe rims with paper towel and screw lids on
  • Place jars on rack/pasta insert in canning pot/stock pot and boil 15 minutes.
  • Remove and leave undisturbed.

XO, Debbie

fig jam

Fig Jam Recipe:


Equipment: food mill or sieve (optional), large canning pot or stainless stock pot with pasta insert, small canning jars (sterilized), jar lifter, canning funnel (sanitized), large saucepan, spoon, glass of ice water


Ingredients: 
  • 1 pound black mission figs
  • rind from about 1/2 lemon, I just cut small strips as I run this through a food mill later.
  • cores of 3 apples (I use cores of apples I've cut from school lunches or snacks and keep them refrigerated in a bag with some lemon juice), for pectin
  • 1 cup sugar
  • 1 Tbsp. lemon juice
  • 1 tsp. salt
  • 1 tsp. ground cloves
Directions: 
  • Cut figs in half and place in saucepan with lemon rind on low/medium heat, add sugar, lemon juice, cloves, salt and apple cores.
  • Bring stock pot or canning pot full of water to a full boil. Boil canning jars or sanitize in dishwasher, remove with jar lifter and use while still hot.
  • Let saucepan simmer until figs break down and sauce begins to gel -To test for gelling, put a spoon in some ice water, then pick up a small spoonful of jam with it. Look for a non-runny, sticky consistency as the jam cools on the spoon.
  • Once gelled, run through a food mill or sieve if you have one, then stir your bulk back into the gelled liquid, removing the lemon rinds and apple cores. If you don't have one, use a potato masher or fork to mash up bits.
  • Put jam into jars using funnel leaving 1/2 in. head room. Wipe rims clean with paper towel. Screw tops on and bring to a boil on rack in canning pot or pasta insert in stock pot with water covering lids by at least an inch for 15 minutes. 
  • Remove using jar lifter and let sit undisturbed. 
  • Done!
-I spread a little of this on some homemade wheat bread with a little goat cheese for lunch yesterday. Delish!

XO, Debbie

Sunday, September 12, 2010

Preserved lemons

Preserved lemons... dancing with dates in a tagine, thrown in a salsa, spicing up some quinoa... these little gems have so many uses.


Preserved Lemons:

Equipment: Sterilized jar, quart-size, sharp knife

Ingredients:
  • 6-8 Meyer lemons or other thin-skinned lemons to preserve
  • 6-8 lemons for juice
  • other optional spices: cinnamon stick, bay leaves, cloves
  • kosher salt, plenty of it.
Directions:
  • cut your lemons lengthwise into quarters but not all the way through, leave about 1/2 inch at bottom in tact.
  • salt the exposed portion of your lemons generously
  • pour about 2 Tbsp. salt into bottom of jar
  • Press some lemons in, be a little rough with them, you want their juices to come out
  • add more salt and any spices you wish and continue to layer them this way, cramming in as many lemons as you can fit, you want a tight fit.
  • cover with the lemon juice.
  • seal jar. No need for a hot bath here, the lemon juice and salt do the work of preserving.
  • leave for at least 30 days, unrefrigerated and unopened, shaking about once daily.


XO, Debbie

canning cherries

Summer is quickly coming to a close and I'm feeling all soft and sentimental about summer fruits. While I aim to pretty much eat what's local and in season, come around December, I know I'll get a hankering for something... inaccessible. Which is where canning comes in.

Canned Cherries:

Equipment: canning pot with jar rack or large stock pot with pasta insert, canning funnel, sterilized, sterilized canning jars, jar lifter, cherry pitter (optional), large saucepan for heating cherries in sugar syrup


Ingredients:
  • cherries
  • sugar (3/4 c. per half pound cherries)
  • water
For pre-soak, salt-vinegar solution (optional; done to retain color. Mostly unnecessary, especially for unpitted cherries):
  • 2 Tbsp salt
  • 2 Tbsp. vinegar
  • 1 gallon water
Directions:
  • Pit and stem cherries, optional
  • Soak cherries in the salt vinegar solution, optional
  • Put cherries in saucepan with enough water to cover. Add 3/4 cup sugar for each half pound cherries. Stir to dissolve sugar. Bring to a boil.
  • Meanwhile, Bring your large pot or canning pot of water to a boil. Place jars in using jar lifter to heat them up (there are other options, I wash and sanitize mine in the dishwasher and take them out for this step while still piping hot.)
  • Pour cherries into jars using canning funnel, leaving 1/2 in. head space and wipe rims clean
  • Seal jars with lids
  • Place in the boiling water using jar rack or pasta insert until covered by at least 1/2 in. water. Add more water if necessary to cover.
  • Boil 15-20 minutes, remove with jar lifter and place on towel where they will not be disturbed to cool. 
  • Check for a proper seal 12-24 hours later by lightly pressing on center of lid. It should be concave and have no give. Label with contents and date.


Enjoy!
XO, Debbie